Camera HACK:
DOF-Changeable Photos with an SLR
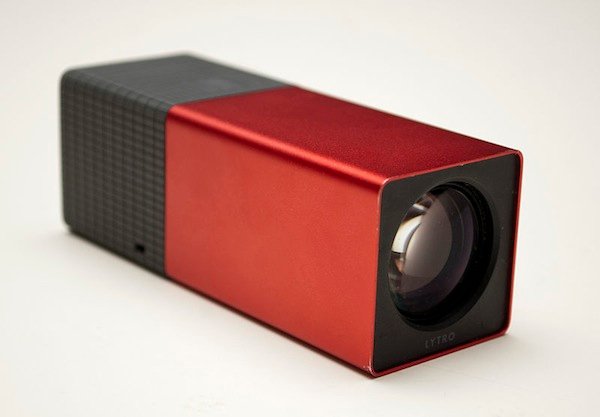
Have you ever been curious to try out some of the new photography gadgets that let you play with the focus of a shot after you've taken it? They're called DOF-Changeable images, and the web has been a-buzz about them for a while now. Unfortunately, the $400 pricetag (like the sweet looking Lytro) makes it a bit out-of-range to buy one just for tinkering.
For those too impatient to read through text, the gist is that we created a similar effect using a basic digital SLR camera and shooting video (getting depth-of-field information by capturing it over time instead of over space as Lytro does). See for yourself by clicking around on the images we captured below using video.
How does it work?
First, let's briefly discuss how cameras like Lytro work. Instead of capturing a single image through a single lens, Lytro uses a micro-lens array to capture lots of images at the same time. A light field engine then makes sense of all the different rays of light entering the camera and can use that information to allow you to refocus the image after it's been taken.
But since we only had a digital SLR hanging around the studio, we started looking at ways to achieve the same effect without needing micro-lens arrays and light field engines. The idea is simple; take lots of pictures back to back at various focal distances (collecting the same information, but over time). Then later, we can sweep through those images to pick out the exact focal distance we want to use.
But wait... A sequence of images is just a video! And since most digital SLRs these days make it super easy to capture video and manually adjust focus, that's all you need. Just hold the camera very still (a tripod is nice, but not necessary), shoot some video, and adjust the focus from near to far. That's it.
Here's the setup we used to capture the DOF-Changeable image above.
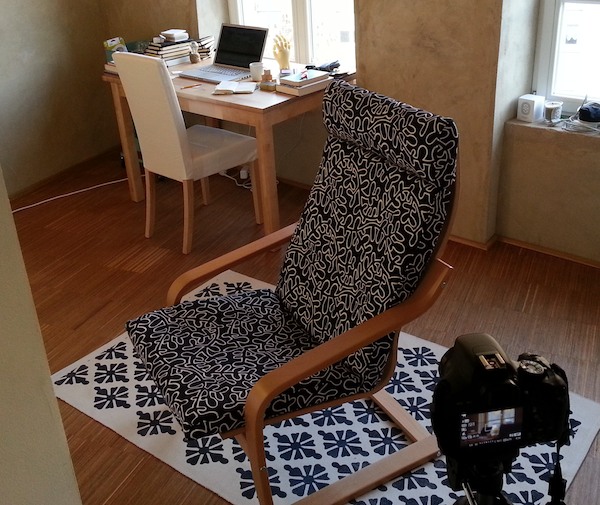
All you need is a couple seconds of video (since video usually captures at 30 frames per second, that's easily 60+ levels of focal distance). And since you may want to embed the video for sharing, being short and sweet makes it smaller to move around the net. Here's the entire video that was actually captured.
Of course, once we had the video, the next step was to figure out how to make a simple tool that could process each frame of video and compute the clarity of focus for various points in the frame. We ended up using a 20x20 grid, giving us 400 selectable regions to play with. Making the grid finer is simple, but we noticed that making it too small actually made it harder to calculate focal clarity. The reason: we're looking at the difference between rough and smooth transitions in the image. If the grid is too small, smooth surfaces become difficult to accurately detect. Tighter grids also produce large embed code, so we stuck with 20x20 as grid that dense-enough without introducing extra overhead.
Everyone loves examples, so here's a few more. :)
Create your own DOF-Changeable Image!
Seriously, it's pretty simple. But just in case you're still confused, here's a simple cheatsheet to make things explicit.
- Grab your camera (one that shoots video and has manual focus; we used a Canon T3i).
- Frame your shot. Find something that has both close and far elements.
- Get stable. A tripod is handy here, but not necessary.
- For the best effect, narrow your depth-of-field (use largest aperture possible).
- Turn the focus to one extreme. Start taking video.
- While the video is recording, slowly turn the focus to the other extreme (over 2-3 seconds).
- Stop the video. Now go copy it to your computer.
Once you've captured a focus-sweep video as directed above, use the little tool we created below to turn your video into a DOF-Changeable image. Note that we geeked out a little and made the tool process the video right in your browser (so it never has to send it over the network to a server, and you're never stuck waiting in a queue)!
Two last little details worth noting before you go making batches of these guys.
First, you'll probably want to scale down your video to the intended viewing size so you don't waste bandwidth loading some crazy big HD file when you're showing it at 320x240. It'll handle HD 1080 video just fine, but your users might not have quite the same appreciation for its heft that you do. Somthing between 0.5MB and 3MB is probably good.
Second, since we're using the HTML5 video tag, you'll want to use video formats that work cross browser. Our camera shoots .mov files by default (not supported by all HTML browsers), so we opened them up in Quicktime and saved them as .m4v to make browsers happy.
Happy photographing!
Creating video focus map. nom nom nom.
This may take a couple minutes...